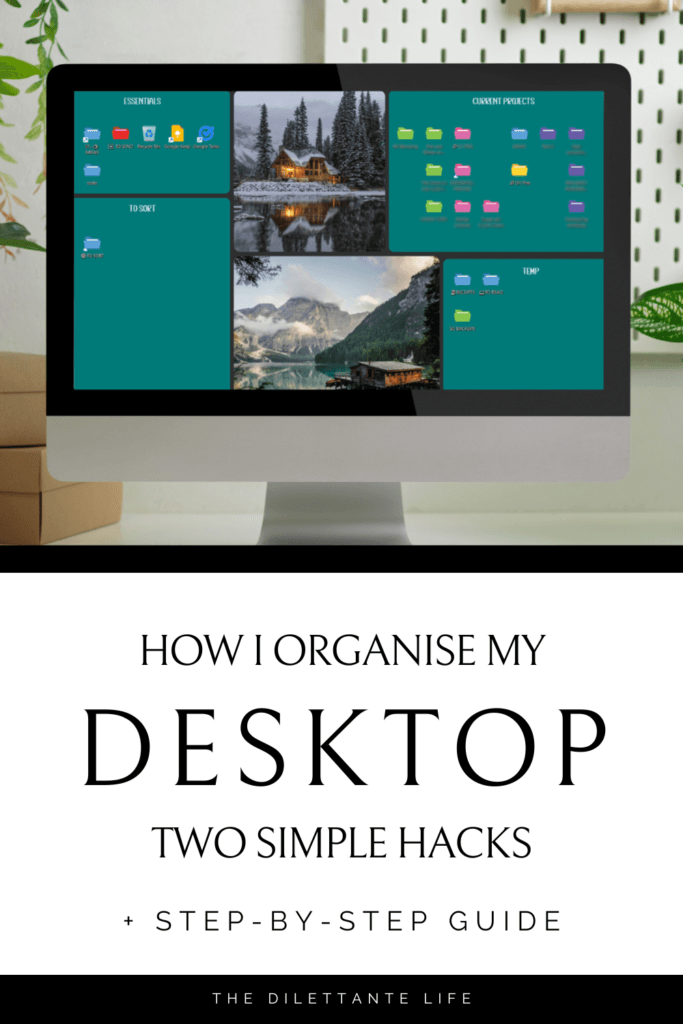
How I Organise My Computer Desktop to Conquer My Hot Mess
Two simple hacks on how I organise my computer desktop: a visual wallpaper organiser you can make free in Canva, plus a step-by-step guide to colour-coding your folders by project.
Key Takeaways
It turns out, ‘I’ll sort it later’ is not the best filing system.
Full disclosure: I have folders called ‘shit to sort’ that date back to 2009, where I’ve dumped the hot mess that accumulated on my desktop. Several for each year.
Let’s just say, filing isn’t my strong point, and I rely heavily on the search function.
If you’re juggling multiple projects, clients, or just life in general, you know what a computer desktop can look like after a few weeks of downloading, uploading, and ‘I’ll sort that later.’
Mine looks a bit like my real-world desktop, only worse.
Files stacked on files. Folder names I couldn’t even read because something else was covering them. Every few weeks, I’d have a big clean-up, and then slowly descend back into chaos.
Two things have helped me keep my desktop clear for the past six months and on top of my filing. They look like busy work, and I don’t know why they work, but they do. And I’m sharing both here.
The Fix: A Visual Desktop Organiser + Colour-Coded Folders
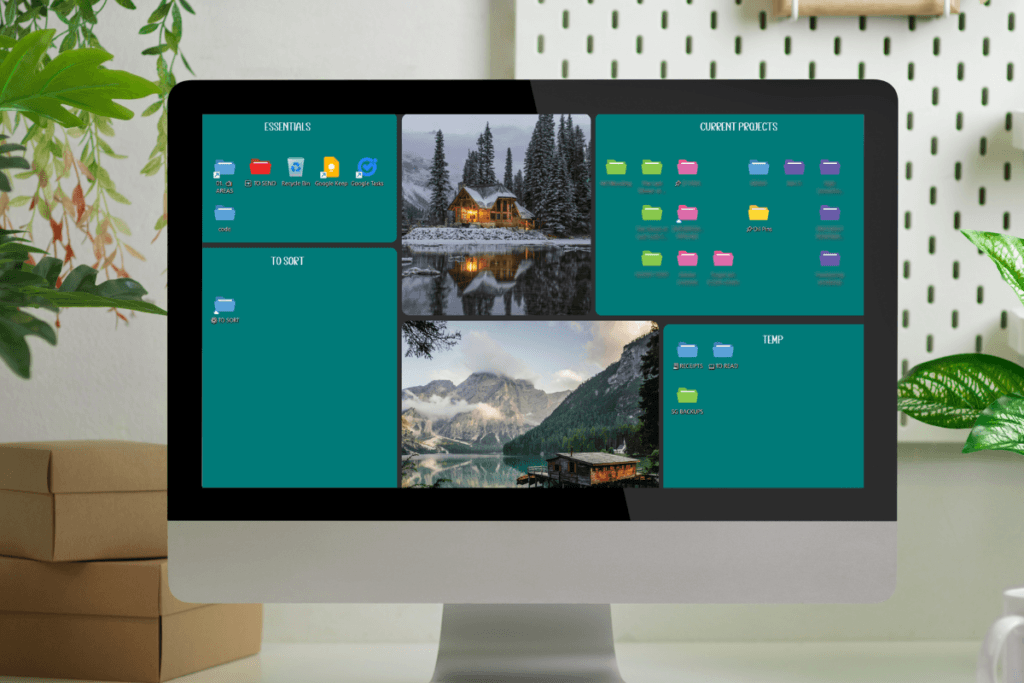
Here’s what my desktop looks like now:
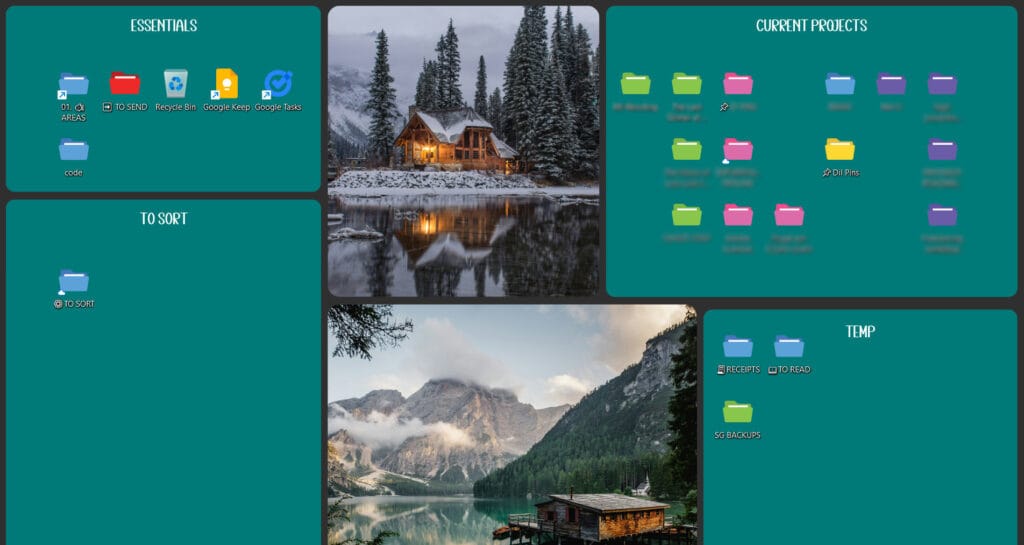
Neat little boxes, colour-coded folders by project and two pictures of somewhere I’d rather be. (Very important for morale.)
The boxes are just the desktop wallpaper, a trick I stumbled across that sounds too simple to work. It does, though. Something about having visual containers makes your brain want to put things in them. I can’t explain the psychology, but I can confirm I have kept my desktop tidy for longer than ever before.
The coloured folders are a little hack, because Windows doesn’t natively let you colour-code folders the way Google Drive does. It’s a bit of mucking around, but it makes it quicker to file things – my eyes are drawn to the colour first.
Here’s how to do both.
Part One: Create a Desktop Organiser Wallpaper in Canva
This is the easiest part, and it’s fun to design a wallpaper that’s just right for you.
Step 1: Find a Template in Canva
Head to Canva and search ‘desktop wallpaper’ or ‘desktop organiser.’ You’ll find plenty of options with pre-made boxes and sections.
The one I used is called ‘Green and White Minimalist Desktop Wallpaper‘ – feel free to use that or find one that matches your vibe.
Step 2: Customise Your Sections
Think about how you work and what categories make sense for you. Mine are:
- Essentials: things I use every day (shortcuts to Google Keep, Google Tasks, etc.)
- Current Projects: active personal and client project folders
- To Sort: the dumping ground for anything that lands on my desktop mid-task
- Temp: receipts, things to read, backups I haven’t dealt with yet
You don’t have to use the same categories or keep the box sizes the same. I kept my projects box smaller on purpose – if all my projects can’t fit into that, then I have too many.
I also added two landscape photos because I’d totally prefer to be in a cabin in the woods right now, not on a busy main road in the tropics, as long as it had good Wi-Fi.
Tip: If the boxes feel cramped once you start dragging files in, go back into Canva and resize them. I expanded mine quite a bit from the original template, so the folder icons had more breathing room.
Step 3: Download and Set as Wallpaper
Download your finished design and save it to your images or downloads folder (not the desktop – yes, I’m speaking from experience).
Then:
- Right-click on your desktop
- Select Personalise
- Click Background
- Click Browse pictures and find your downloaded image
Done! Now drag your folders and files into their new homes.
A few things that work for me:
- I have a ‘to send’ folder for finalised client work. I send a copy, so once it’s sent, I clear this box. If I’m sending multiple files, I find it easier to corral them all there.
- I like to add emojis to the names of some folders. It makes it easier to distinguish them at a glance, and it’s fun.
- I have a shortcut to my ‘Areas‘ folder on the desktop. It’s part of the PARA method of filing, which I also find super-useful for organising information.
Part Two: Colour-Code Your Folders in Windows
This bit is a little more involved — but it’s a one-time setup. In Windows, you can change icon pictures, but not the colours, whereas colour-coding folders is a built-in function in Google Drive. I find the colour-coding useful, so here’s a hack to colour-code your folders.
Step 1: Get Your Folder Icons
You need folder images in .ico format (that’s the file type Windows uses for icons). Here’s where to find free ones:
- Flaticon — huge library, free with attribution
- Freepik — lots of folder graphics, free with attribution
- Icons8 — this one is particularly handy because you can change the colour directly on the site and re-download in as many colours as you need
I downloaded vector folder images through my Adobe subscription and used Photoshop to remove the backgrounds, but you absolutely don’t need to do that. The free options above are great.
Step 2: Convert to .ICO Format (If Needed)
If your folder images are PNGs, you’ll need to convert them to .ico files. Use:
👉 convertico.com — free, simple, does the job
Just upload your PNG and download the .ico file. Done.
Important: Your PNG needs a transparent background for the icon to look right. If you’re using Icons8 to change colours, it handles this for you. If you’re sourcing images elsewhere and need to remove the background, Photopea is a free, browser-based tool that works like Photoshop.
Step 3: Put Your Icons Folder on the Desktop
Create a folder with all your coloured .ico files in it, and keep it on the desktop.
I learned this the hard way. If you store the folder elsewhere, Windows can’t always find the icon path and your folders stay boring default yellow.
There might be a workaround, but I don’t know what it is, so for the moment, my icon folder unfortunately lives on the desktop. But hidden in a corner.
Step 4: Apply the Colour to Each Folder
For each folder you want to colour-code:
- Right-click the folder
- Select Show more options at the bottom of the menu
- Click Properties
- Go to the Customise tab
- Click Change Icon
- Browse to your icons folder and select the colour you want
Repeat for each folder, matching colours to projects or categories.
Heads up: On my computer, the colour change didn’t show up straight away. It took about 10 minutes for the folder to update on the desktop. If yours doesn’t change, try restarting your computer, that usually nudges it along.
Why This Helps
I’m not naturally tidy. I’m a person with too many projects, too many browser tabs, and a brain that would rather jump to the next interesting thing than file something correctly.
But this system removes the friction.
When I’m mid-project and need to grab a file, save something, or sort through downloads, I can see at a glance exactly where things live. The colour-coded folders mean I’m not hunting through a sea of identical yellow. And if I have multiple folders for a project, emojis in the titles make them stand out at a glance. The wallpaper boxes mean things have a place, and my brain responds to that.
It’s a small hack. But small hacks add up.
Quick Recap
Desktop Wallpaper:
- Search ‘desktop organiser wallpaper’ in Canva
- Customise your sections to suit how you work
- Download and set as your wallpaper via Personalise > Background
Colour-Coded Folders:
- Download free folder icons from Flaticon, Freepik, or Icons8
- Convert to .ico at convertico.com (use Photopea if you need a transparent background)
- Save all .ico files in a folder on your desktop
- Right-click each folder > Show more options > Properties > Customise > Change Icon
Have you tried the desktop wallpaper organiser trick? Or do you have your own Windows hack for keeping the chaos at bay? Let me know in the comments. I’m always on the lookout for a better system.